You want a shed, right? Great. But before you start picturing paint colors or where you'll stash your gardening tools, we need to talk about what goes underneath it. The foundation. It's not the glamorous part, sure, but it's absolutely the most important. Mess this up, and everything else turns into a real headache.
Before You Even Think About Digging
First things first: what kind of shed are we actually talking about? A small, pre-fab plastic box for a few shovels? Or a proper backyard office, maybe a workshop — something substantial? The bigger and heavier the shed, the more serious your foundation needs to be. You wouldn't build a house on a stack of bricks, would you? It's the same principle here, just on a smaller scale.
Next, take a good look at your site. Is it flat? Probably not, this is San Francisco after all. Most yards here have some slope, and that's fine, but it does mean more work. You also need to think about drainage. We get a fair bit of rain, especially in winter. You definitely don't want your shed sitting in a puddle or, worse, having water run underneath it and erode the soil. That's a recipe for disaster down the line, believe me.
Check for underground utilities. Seriously, call 811 before you dig anything. You really don't want to hit a gas line or a water pipe. That's not just expensive; it's dangerous. Also, consider your soil. Here in SF, especially around areas like the Sunset or Richmond, you might have sandy soil. That drains well but can shift. Further inland, you might hit more clay. Knowing your soil type helps you decide on the right foundation.
DIY or Call a Pro?
This is where a lot of folks get stuck. For smaller, lighter sheds – think 8x10 or less, especially if it's just for lightweight storage – you might be able to get away with a simple gravel pad or concrete blocks. If your site is already pretty level, and you're comfortable with a shovel, a level, and some basic math, you can probably handle a gravel foundation yourself.
- Gravel Pad: You'll need to dig out the area, lay down some landscape fabric to prevent weeds, build a perimeter frame with treated lumber, and then fill it with compacted gravel. It's doable for a handy homeowner. Just make sure it's dead level.
- Concrete Blocks (Pier Foundation): For slightly larger sheds, you can use concrete blocks (like deck blocks) set on compacted gravel or small concrete footings. This lifts the shed off the ground, which is great for airflow and preventing rot. Again, getting these perfectly level and spaced correctly is key.
Now, if you're looking at anything bigger than 10x12, or if your site has a significant slope, or if you're building a shed that's going to be a proper workspace with power and maybe even plumbing, you absolutely need to think about a professional. We're talking about a concrete slab or a more robust pier and beam system.
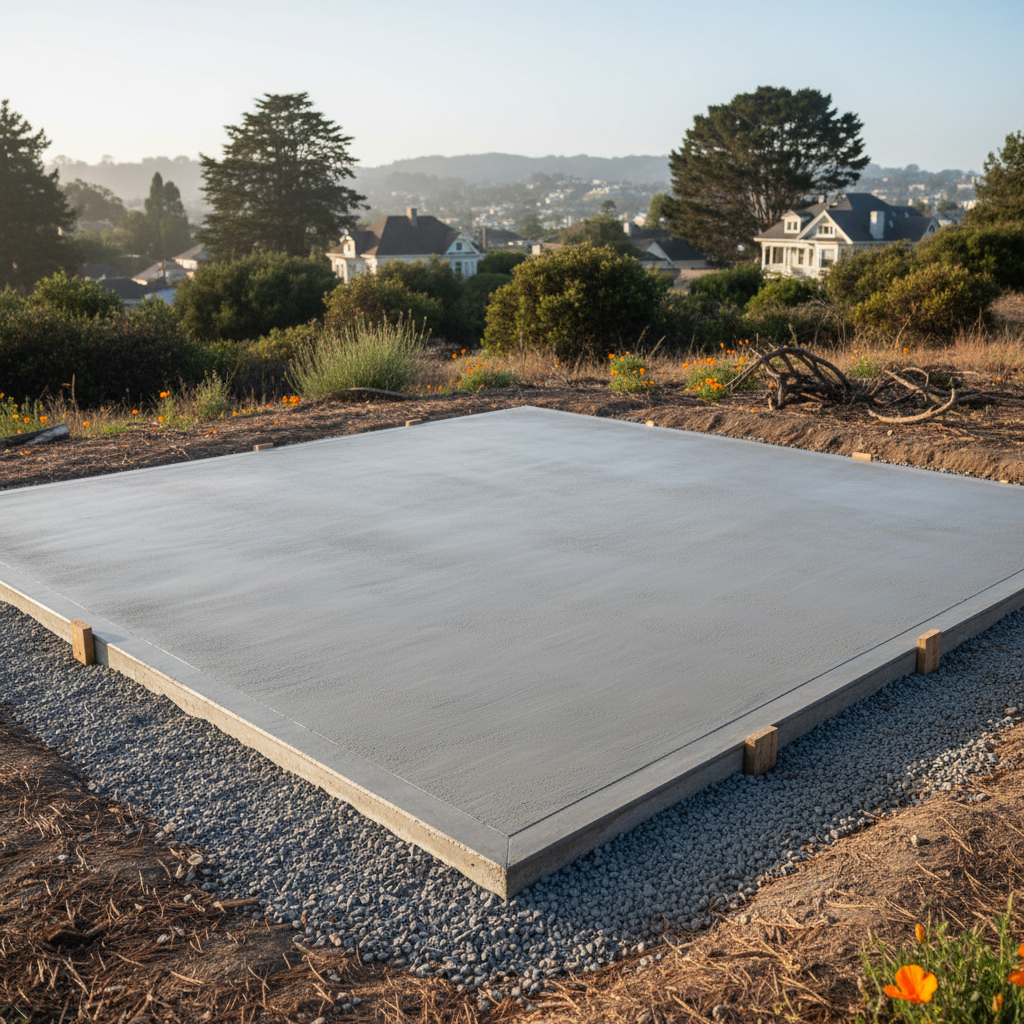
Pouring a concrete slab isn't a DIY job for most people. It requires proper excavation, rebar, forming, and knowing how to pour and finish concrete so it doesn't crack or settle unevenly. That's specialized work. And if you've got a tricky slope, leveling it out and building a retaining wall or a robust pier foundation takes experience. That's when you call someone like us at San Francisco Shed Builders. We've seen what happens when folks try to cut corners, and it's never pretty or cheap to fix.
During the Build: Don't Rush It
Whether you're doing it yourself or supervising a pro, don't rush the foundation phase. This is the bedrock of your entire project. Take your time with measurements, make sure everything is square and level. Use a good quality long level, and double-check everything. A little extra time spent here saves you a lot of headaches later when your shed walls don't line up or your door won't close properly.
If you're doing a gravel pad, make sure you compact that gravel properly. Don't just dump it and walk away. Rent a plate compactor if you need to. For pier foundations, ensure your piers are deep enough to get below the frost line (though that's less of an issue here in SF than in colder climates, stability is still key) and are sitting on undisturbed soil or proper footings.
After It's Done: Keep an Eye On It
Once your shed is up, don't forget about the foundation. Give it a visual check every now and then. Look for any signs of settling, cracking, or erosion around the base. If you have a pier foundation, make sure nothing is shifting. If you notice water pooling around the base, you might need to improve your drainage with some French drains or by regrading the surrounding area.
A solid foundation means your shed will last for decades, protecting whatever you put inside it. Skimp on this step, and you're just building problems for your future self. Get it right the first time, and you'll be happy with your shed for years to come.